
After a gentle nudge from Harry over on Warseer, I had to agree it was high time to continue work on the display backdrop for my wifes Warhammer Quest set. If I am to finish painting it, I'll need both a boost to motivation and room to put the finished minis, as the allotted shelf is slowly filling up. Warhammer Quest is a big set!
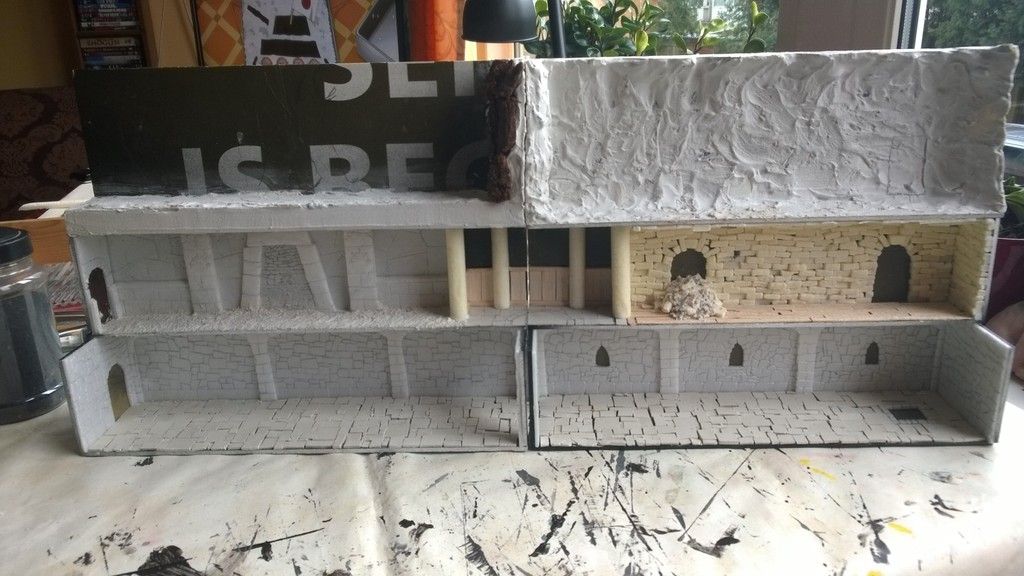
I still needed to do part of the flooring on the dungeon corridors. (In fact, the entire centre level of the display needed its flooring done!) So, that's what I did today:
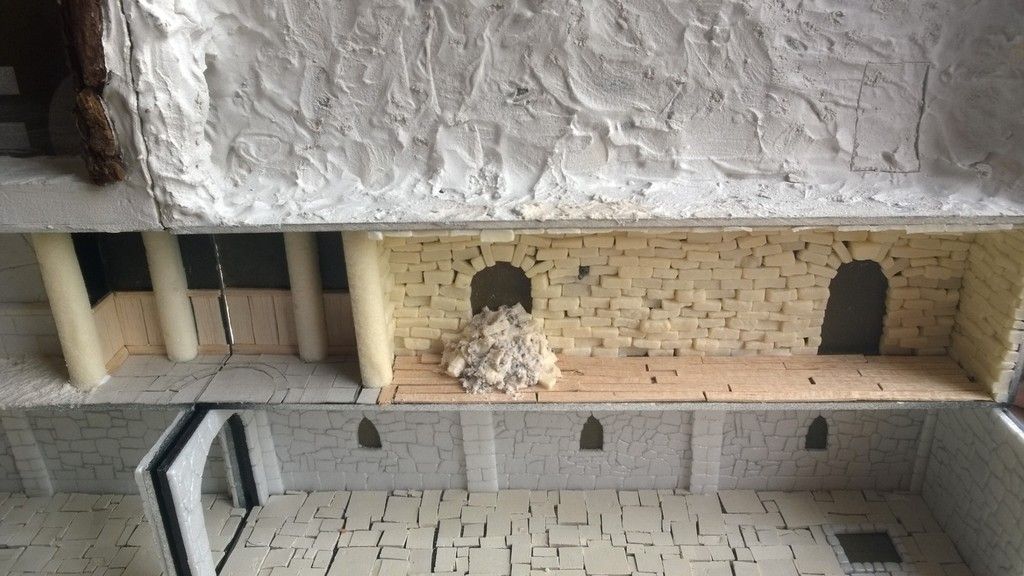
Here are some close ups:
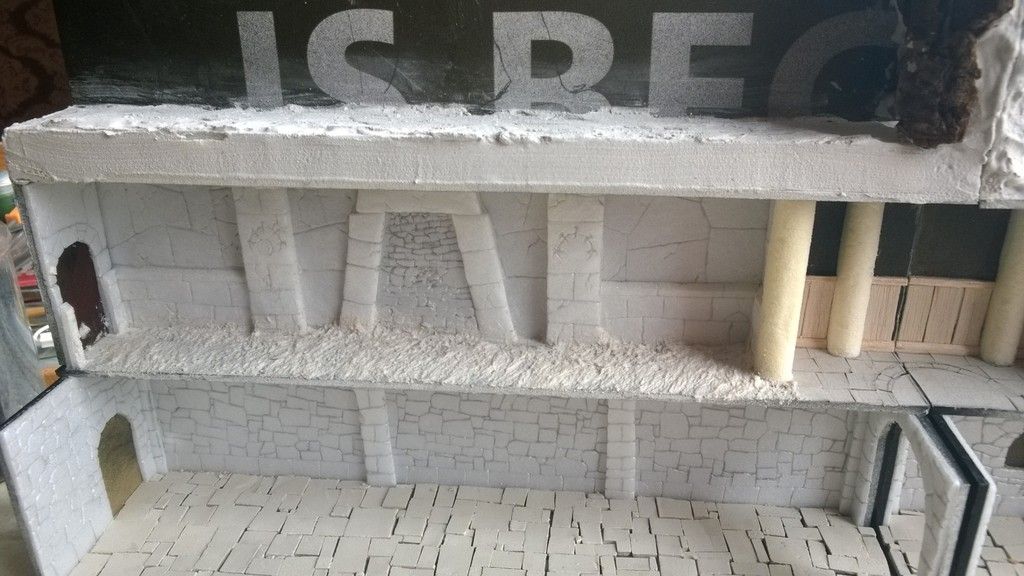
In this picture you can also see the centre room on the middle floor, which has had a floor added in cereal card. Not the most advanced or fancy technique, but it served my purpose here. The large circle in the centre will either be a fancy stone (marble, maybe?) or a brass disc with worn etchings painted on.
Here is the rightmost corridor:
The right door will remain as is, and either painted as a gaping black hole, or, if I can manage it, a trompe l'oeil staircase heading to the hidden door in the cave.
Additionally, but not pictured, I added the first layer of sand to the outdoor scene in the upper left corner and I painted the foam brickwork with a pva-black paint mixture that had sand and fine gravel added in, to give the wall a sealing layer and extra texture.
The next stage of the project is detailing. I'll have to add doors to the two openings in the left wall, add a hatch to the hole in the floor (lower right corner). Plus some dirt and rocks/detritus on the floors, maybe some wall sconces here and there. (I'm thinking candles for the niches in the lower right section. None will be lit, unless I work up the nerve to do my first ever OSL...)
Once that is all done, I can primer/seal the lot with my mixture of PVA and black paint and it's on to painting! Exciting times ahead...
As I am sure I have said before, this is an epic design and look forward to seeing more of it :-)
BeantwoordenVerwijderenThis really is a work of beauty.
BeantwoordenVerwijderenThanks guys! I'm hoping to do a bit more on it tomorrow, which should take me a fair bit of the way regarding detailing. :)
BeantwoordenVerwijderenNice, very very nice!
BeantwoordenVerwijderenThanks Phil! I'm hoping to smear paint on it soon!
BeantwoordenVerwijderen